Finally. The elusive tablet weaving post. You’re about to understand why this took three weeks to do, and why you’re only getting half of the ordeal for now.
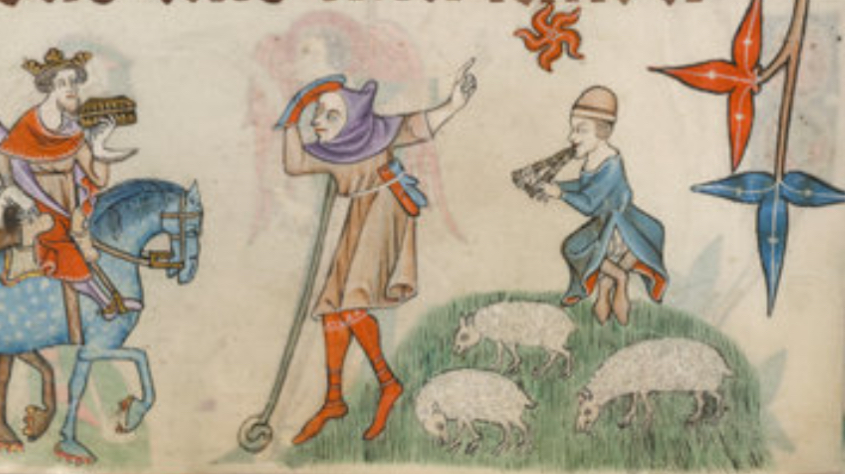
This is how I felt about it. Luttrell Psalter, of course.
Weaving always has to begin with one of the most basic textile arts: spinning. I’ve been over spinning a multitude of times, so I won’t go over the basics again, but I used my medieval drop spindle to spin some thread ages ago and I still had some lying around. I thought that:
1.) I could be thrifty by reusing unused materials, alongside saving myself some time, and
2.) Of course it would be strong enough- this is the same thread I used for warp threads on my warp-weighted loom last year! There’s no better stress test than to suspend threads by weights, right?
I was very sorely wrong!
A hybrid spinning with the same sort of spindle I used.
The thread that I spun was, to note, one ply, really not plied at all. Plying is the process where you take spun thread, find the middle, and then spin it onto itself in the opposite way in which it was originally spun. Thread is either S spun or Z spun- meaning that you spun the fiber to the right or to the left, respectively. It’s called that because the slanted or twisted pattern you see in thread from the side has either a curve in an S direction or a Z direction (look at the middle part of the letters to get what I mean). Folding it in half and spinning it the other way just takes advantage of what the fibers naturally want to do- fighting it certainly won’t get you anywhere, and this way you get some nicer, stronger yarn out of it. All you have to do after is wet set or “block” it, which is where you wrap it around something nice and tight so it stays straight and then soak it in some hot water with some soap for a while before rinsing. It makes it less curly and angry, and also produces an incredibly strong livestock smell (“sheep-y”) that people either love or hate. I like it, actually. You need to do this with one ply stuff, too, which is what I did, so I thought I’d be golden.
Catastrophe.
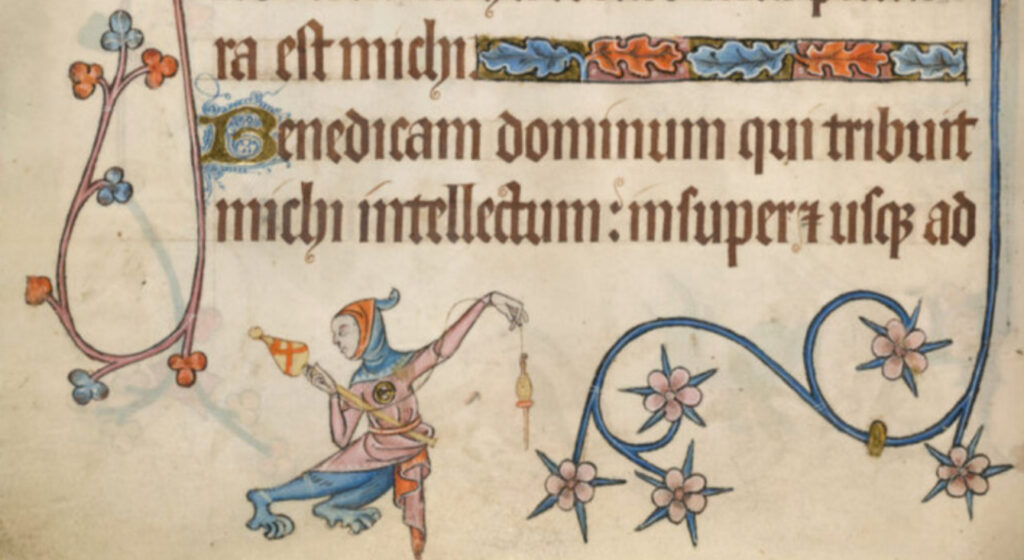
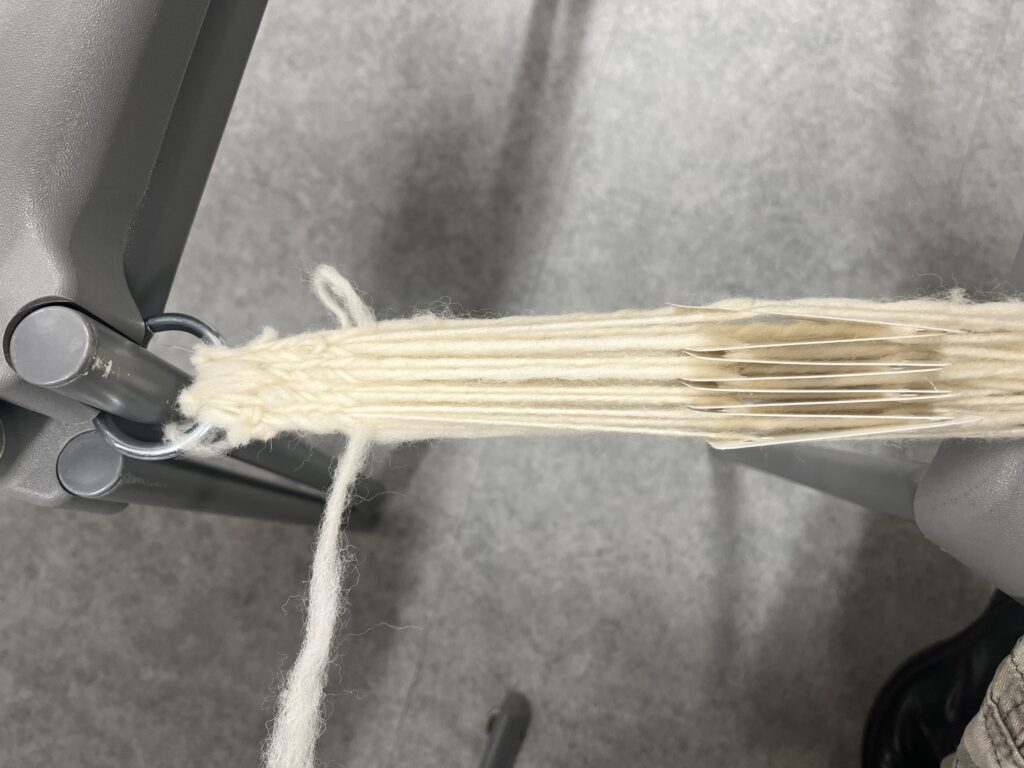
Nope! Lemme explain what the above image is. Remember our little guy?
See his white belt? It’s hard to tell what material it is from the image, but considering that he’s a shepherd in England, I thought it would be neat and make sense if it were wool (also, leather isn’t a textile. Gotta stay on topic here). The best way to go about this is to tablet or card weave it.
Tablets!
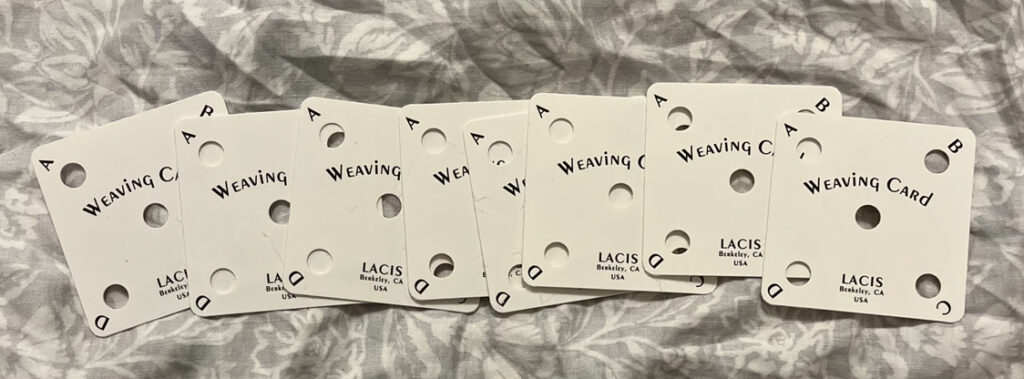
Tablet weaving is a method of weaving that’s been around for ages- literally. People have been making tablet woven bands since the Iron Age in Europe, and it’s something that persisted throughout the Viking Age and the Middle Ages. While it’s not practical for weaving full size yards of fabric, it makes great belts, headbands, and decorative trims for clothing. You basically thread the 4 corner holes of the tablets in a Z or S manner (remember from earlier? Like that. The pictures later will help) and then, if you’re using multiple colors, you can make a pattern in it by rotating the cards forward or backward in a specific order, with patterns ranging from zigzags to chevrons.
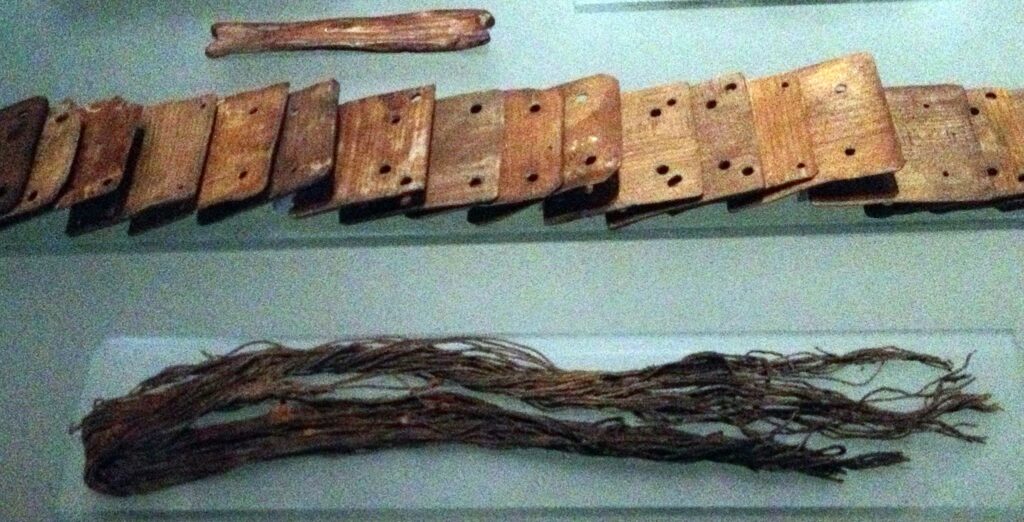
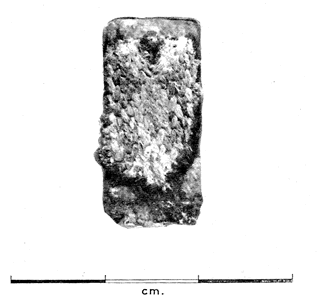
Above: Tablet woven band fragments from Oseberg, 9th c, and Cambridge, Anglo-Saxon ~7th c. The Oseberg image includes the weaving tablets found with it!
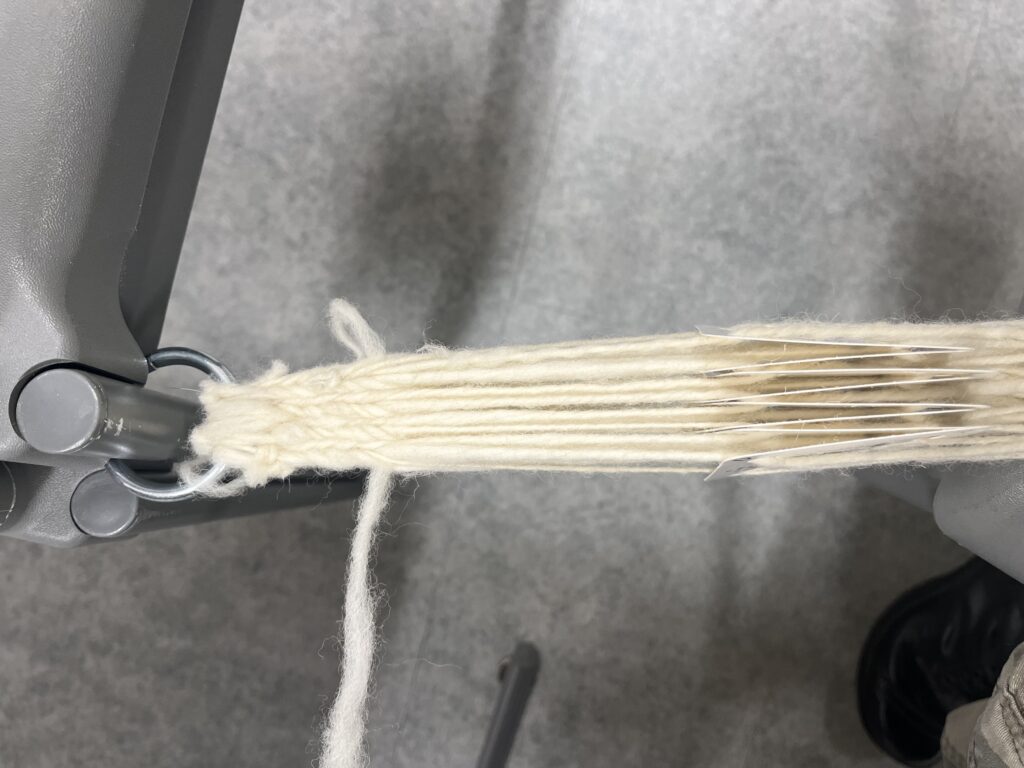
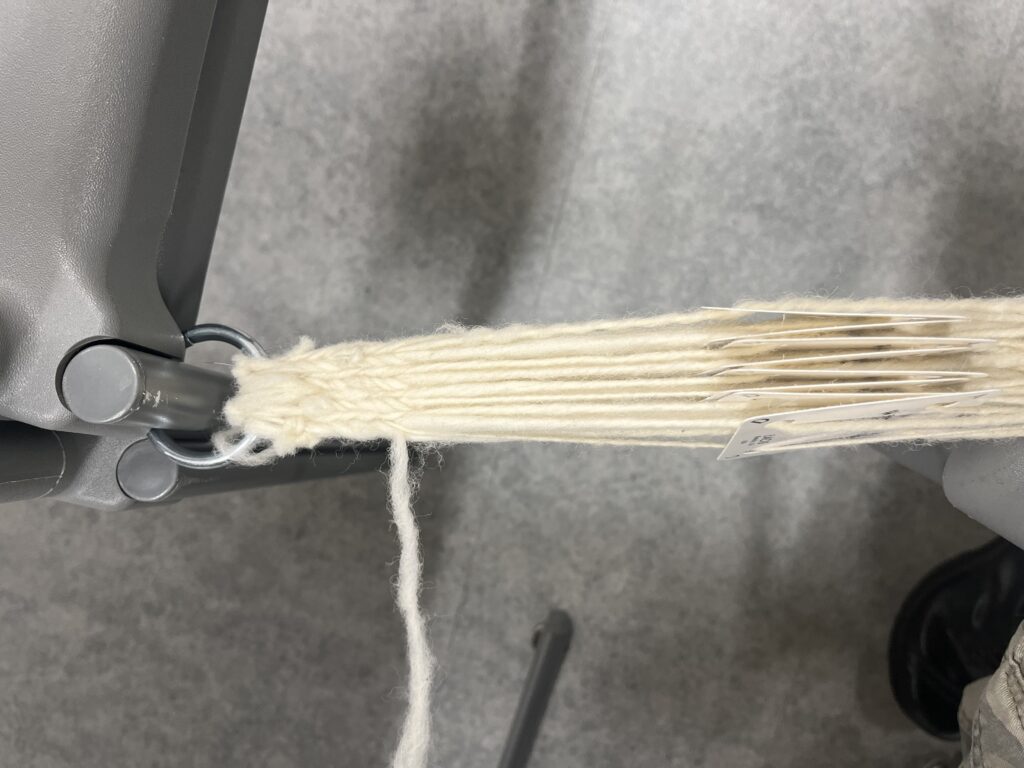
When tablet weaving, tension is really important. Keeping high and consistent tension isn’t just the key to success, but it’s also virtually impossible to tablet weave without it- you just have an infuriating mess of strings. If your thread is bad, though, the tension and the twist can just… pull it apart. That’s what happened in that above image, after hours of setup and a while of weaving. Twice. So I cut my threads, set up my cards, and started weaving, twice, and both times, after hours of work, it pulled apart right after I started.
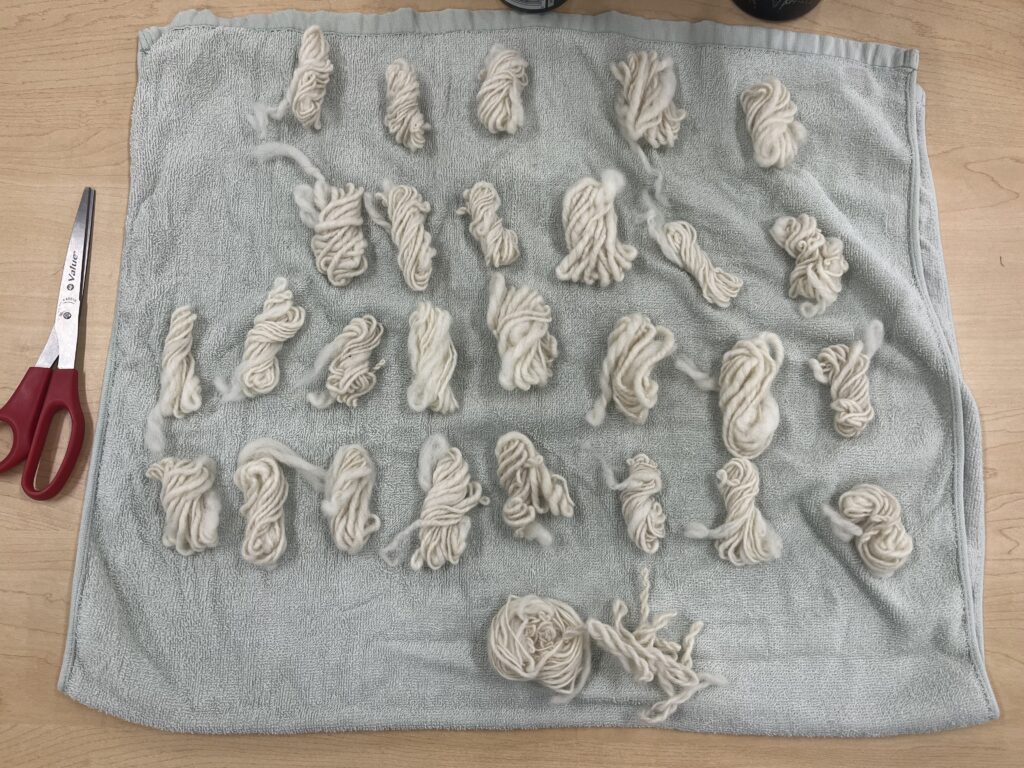
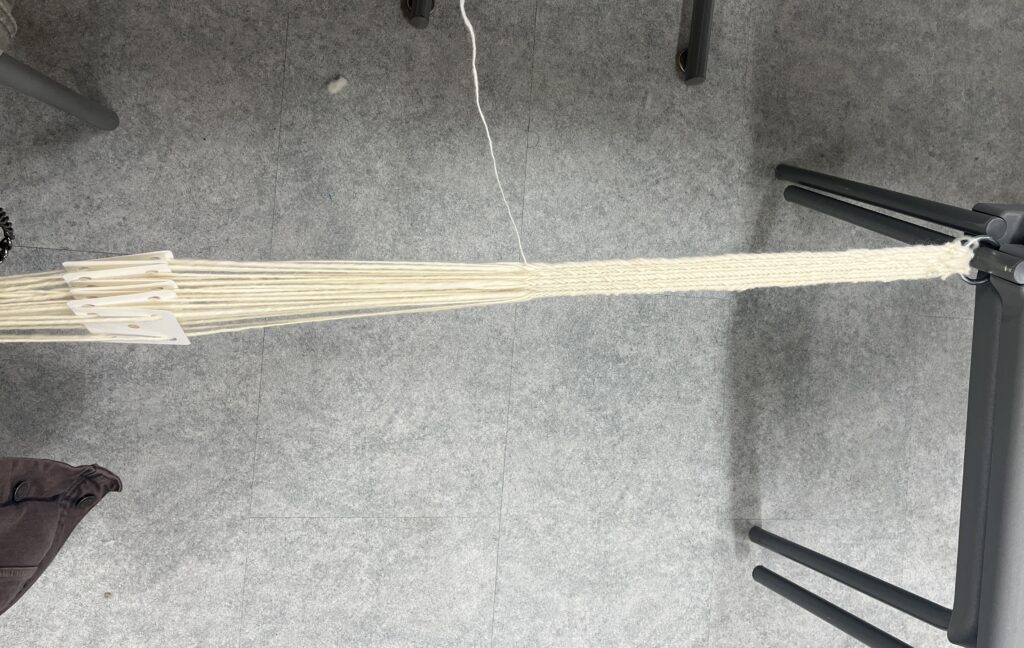
So I started over! First, I spun all new thread- which took… quite a while, considering I needed 32 strands that were twelve feet long with two feet of wiggle room and some change to account for weaving and heat shrinkage during wet-setting. In total, I had to spin around 450 feet of thread. After that, I plied it together, finally wet-setting it all when finished.
Coat baking sheet liberally with nonstick cooking spray and place pretzels 1 inch apart. Wait, wrong tutorial. They’re twisted like this because they naturally try to, it keeps them from tangling, and it helps them dry quickly and evenly.
Once dry, I can set up my weaving cards. Remember what I said earlier- 4 strands to 1 card, Z or S strung. Z strung cards tilt to the left, while S tilt to the right. Here’s what a strung tablet looks like:
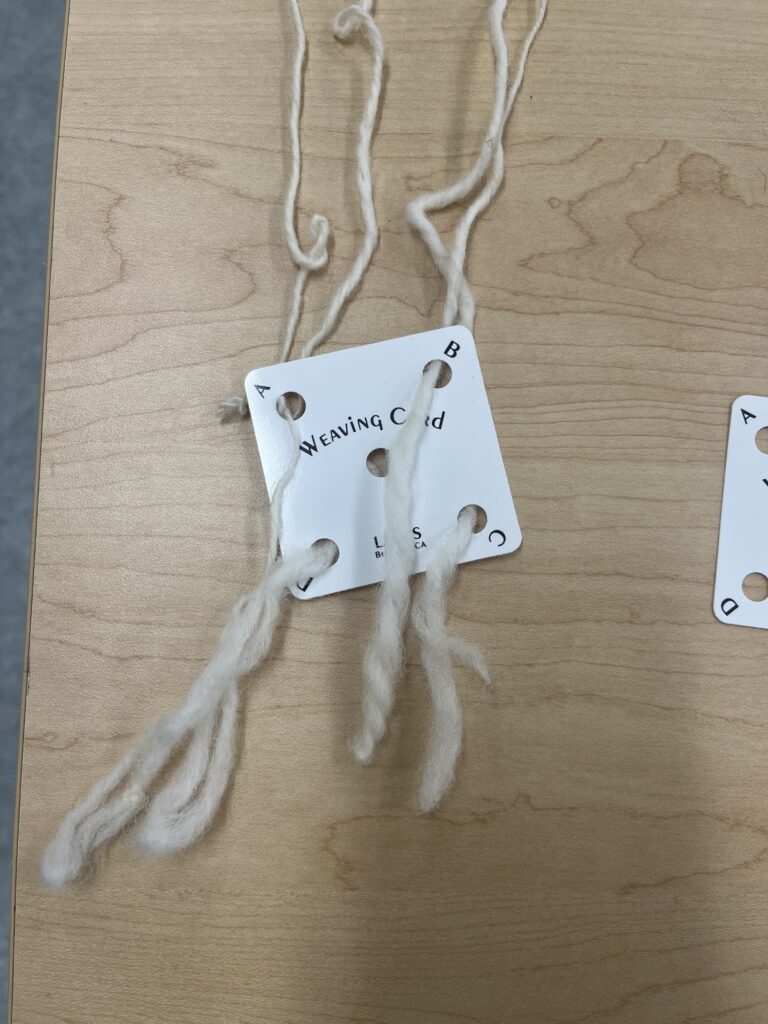
A weaving tablet, S strung.
After this, you either temporarily tie all the ends on the other side of the card in a knot or to a fastener, like a belt buckle or a ring. I started with a ring, because this is a belt and I have secret plans I can’t tell you right now.
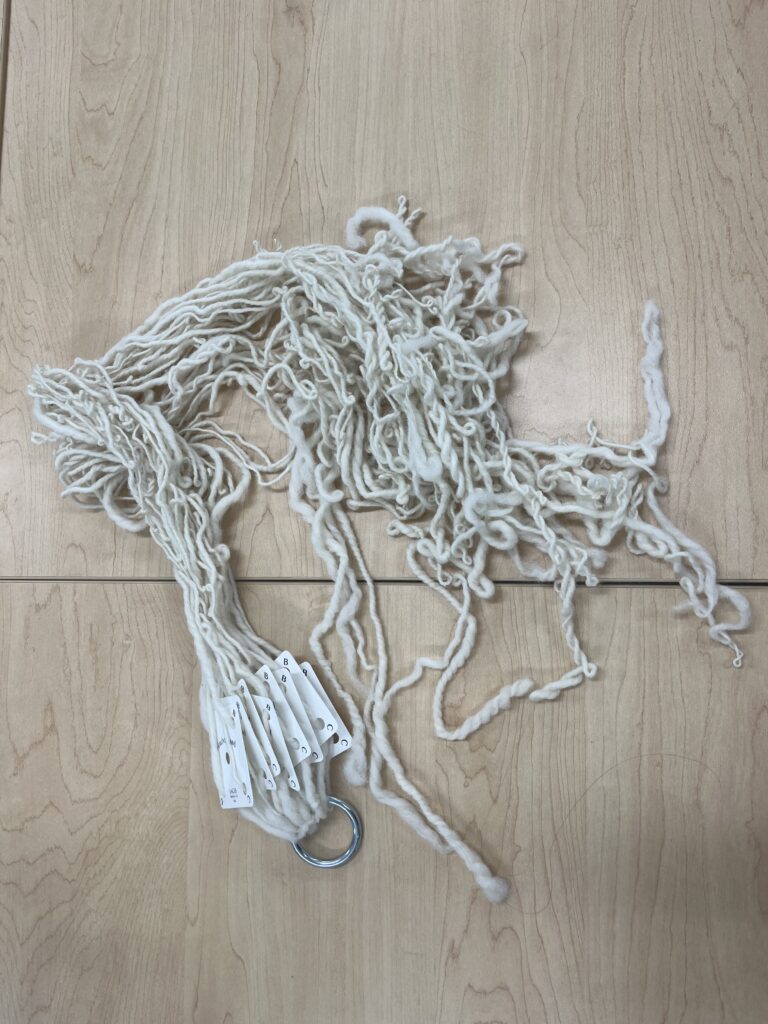
All of the tablets strung with ends tied to a ring! The ring is really convenient, because I can just slip the ring onto a chair leg or something and it holds the tension pretty well. Also, all of the threads look like delicious uncooked cup noodles when slack.
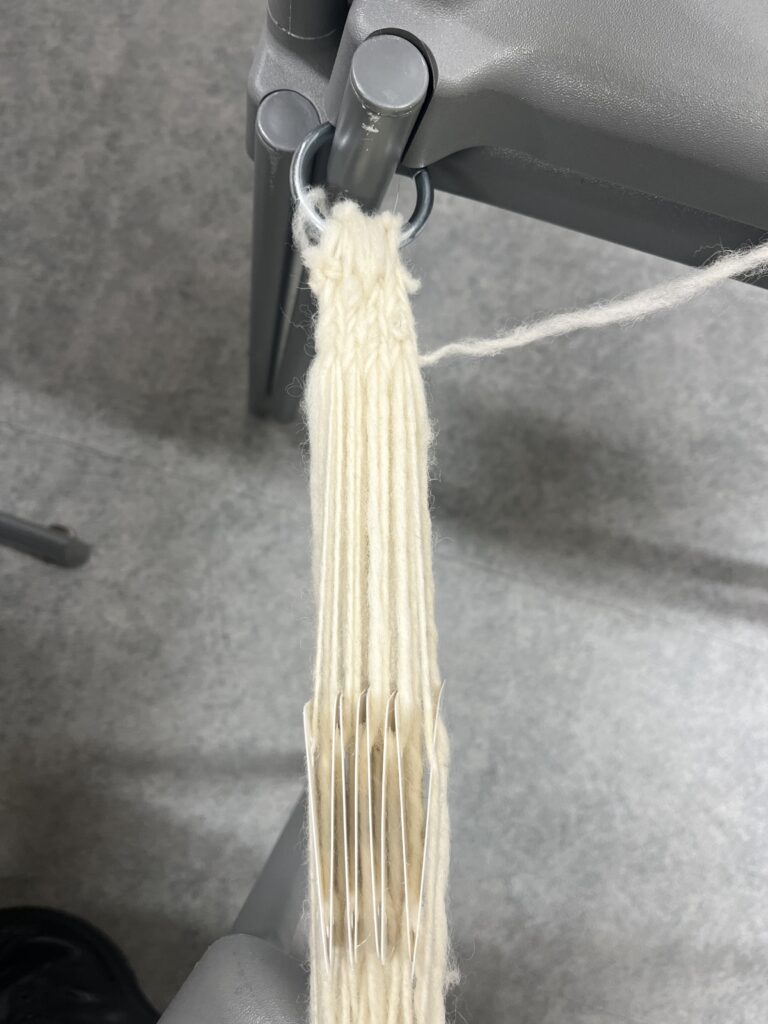
At this point, this is what the setup looks like. The ring is attached to chair leg, and the opposite loose ends are secured to my belt or held in place under my hip while I weave. Since it’s easier with pictures, I’ll explain it alongside them.
Here’s a top picture and a side picture. From the side, the two sheds- top and bottom- are really visible. For this pattern, the most basic, shed changes consist of rotating all the cards forward once. Also, from the top, you can easily see the difference between the S and Z strung tablets from the way they tilt.
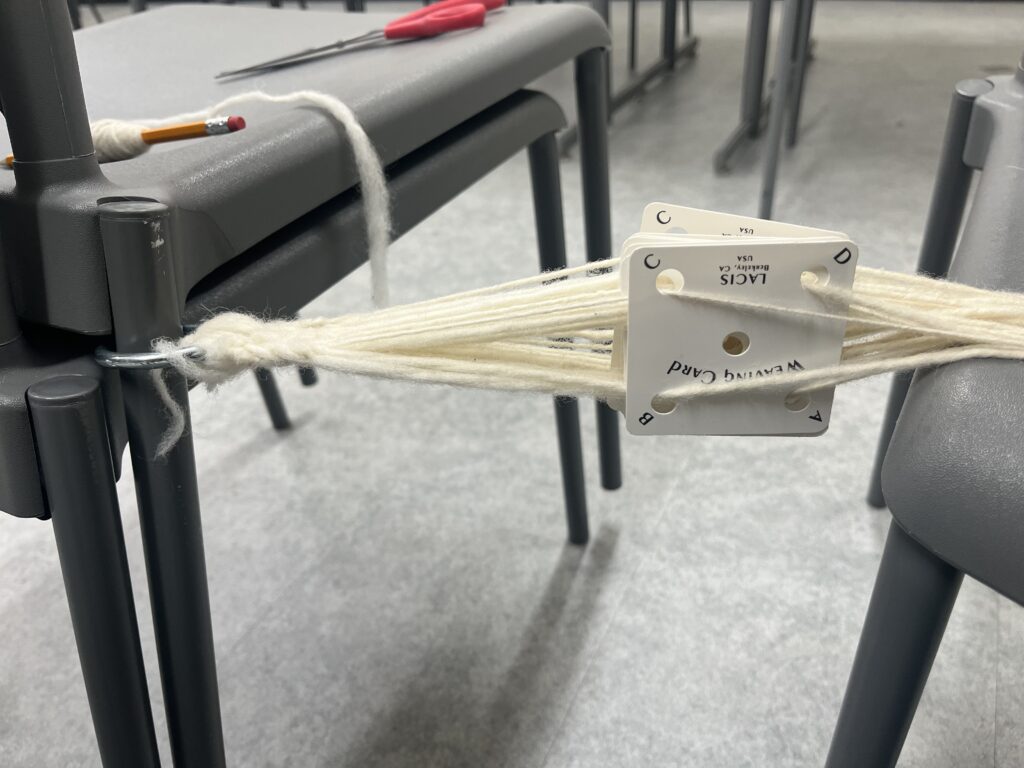
Step 1: Take your shuttle and pass it through. For the uninitiated, a shuttle is the thing that holds your weft (horizontal) thread. In this case, it’s a pencil, because it was more compact than my spindle stick. It goes into that gap between the two sheds in the middle of the cards. Leave a little loop at the side- this is important later.
Step 2: Shed change! Rotate all the cards forward. Even when plied and wet-set, wool threads are naturally kinda grabby, so you’ll have to carefully pack the shed by pulling the two sheds apart and then taking a packing implement- something flat, like the closed blade of a pair of scissors or a weaving sword- and pushing the shed up tight against your weft threads.

The unpacked shed. This is so you can see the twist happening in front of the cards.
The packed shed. Looks a lot cleaner, and you can see the little chevron or fishbone patterns in the middle and the twisted pattern on the edges!
Finally, pull the little loop through nice and tight. You want to leave this loop because it’s how you keep things even, control the tension between your warp threads, and helps you keep the width of your band consistent!
Congrats! You got your first round of weaving done! Now do it again, like… 600 times, for ten hours!
Keep going, and after about two or three hours, you’ll have something like this!
Now you just need to keep going until it’s around five or six feet long. This is gonna take a while.
Thanks for reading! I feel like the reason that this one has to be a two-parter doesn’t need any explanation. I’ll be back next week.
REFERENCES
Backhouse, Janet. The Luttrell Psalter. London: The British Library, 1989.
Brown, Michelle P. The World of the Luttrell Psalter. London: The British Library, 2006.
Camille, Michael. Mirror in Parchment : The Luttrell Psalter and the Making of Medieval England. Chicago: University of Chicago Press, 1998.
Carroll, Carleton W., Lois Hawley Wilson. The Medieval Shepherd : Jean de Brie’s Le Bon Berger (1379). Tempe: ACMRS Arizona Center for Medieval and Renaissance Studies, 2012.
Loven, Pauline. Historical Background : Fourteenth Century Dress and the Luttrell Psalter. London: Bloomsbury Publishing, 2024.
Skogsaas, Bente. “A Tablet Woven Band from the Oseberg Grave: Interpretation of Motif and Technique.” EXARC Journal 3. Leiden: EXARC 2022.