Welcome back!
Last week, we talked about our subject, from his bold, pantless style and his greasy, bacon-smelling dog. I said then that we’d be talking about tablet weaving and spinning, but that’ll have to be something for next week- we’ll just say that one of our grotesques got into my thread- so our focus this week is patterning.
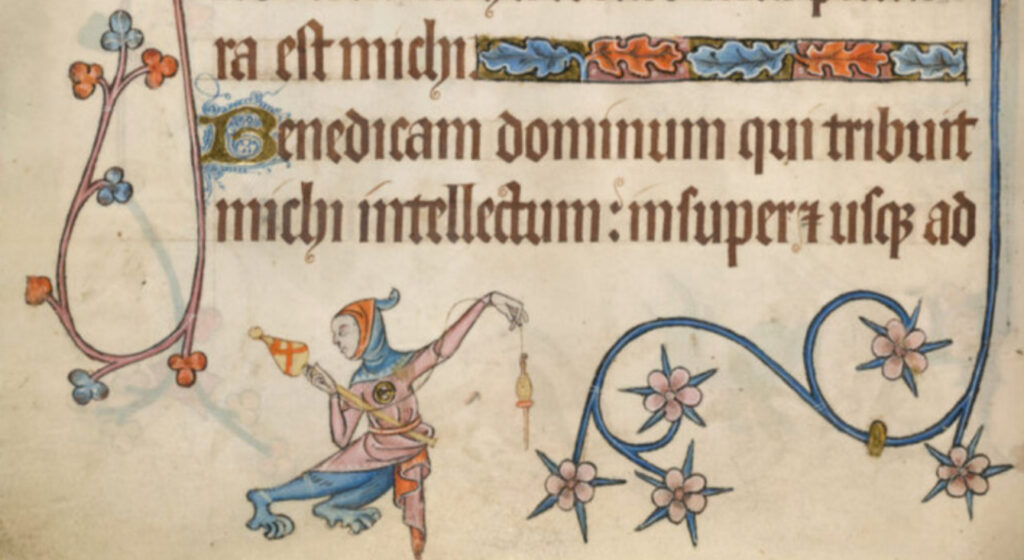
A perturbed looking creature, spinning. I may be spinning, but I’m certainly not perturbed. Well, maybe sometimes.
Patterning, aside from spinning, is for the most part the start of every textile recreation, save for weaving or embroidery projects. When I say “patterning,” I’m talking about the part where you figure out how to take flat pieces of fabric and turn them both into something you can wear and something that resembles your desired garment. In the historical textile recreation world, this also includes doing a good amount of research on whether or not any examples of what you’re making survived, and if they did, you base your patterns off of those fragments. If they didn’t, you look to other sources.
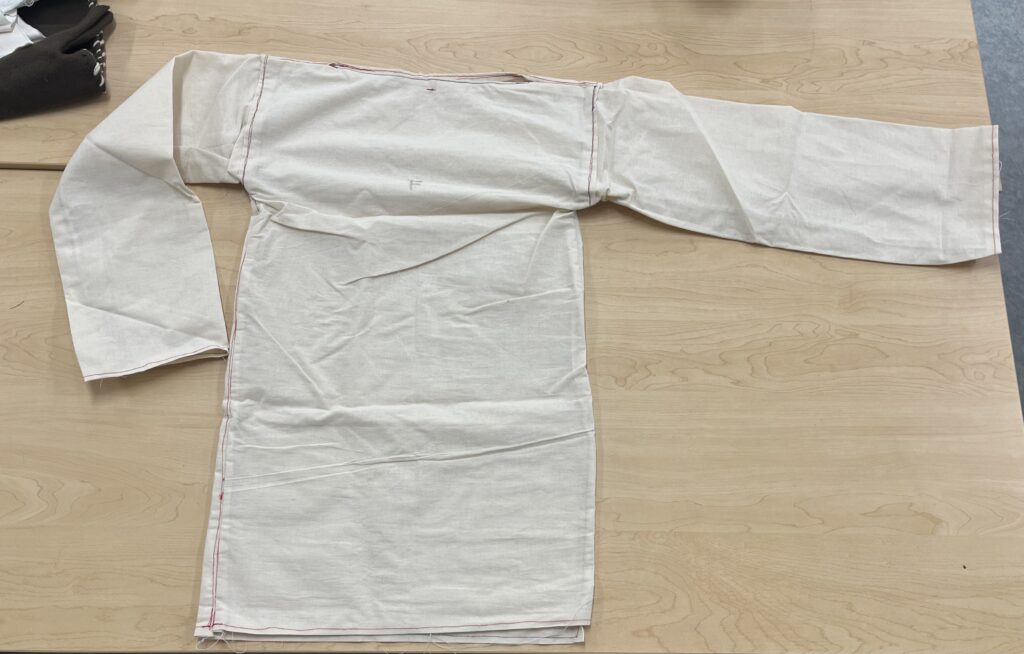
A basic pattern. This is a draft of the bog tunic I did a while ago, based off of the Thorsberg one. It’s laughably awful, and I had to redo it. Yes I did follow the instructions. Yes I did almost have to cut myself out of it. The finished project was double this width.
When you recreate a historical textile, the value in doing it in the first place lies in the authenticity. Anybody can figure out how to make a tunic on their own- it’s shaped like a big t-shirt, you could just trace yourself and add a little before cutting it out and sewing it together. You don’t learn anything from doing that, though, because you didn’t do any research and you didn’t make anything authentic. If you’re able to find out the puzzle pieces that these things were made from, look at wear patterns to see how they folded, how they stored things on their belt, if they pegged their hosen (they didn’t do that in the 14th century, I’m joking) things like that- that’s when you really get something out of it. From there, you can do a lot- wear it, look at the seams, see how it fits and why they make it that way, how long it lasts. You learn how long it takes to make it and how many materials and tools go into the simplest things. It’s as much about the journey as it is the destination.
For a recreation, you sit down and search through the archaeological record- you find your thing, your place, your date, and you see if something survived. If it did- congrats! You’re lucky, usually because of a bog or if your soil is super cold, soggy, or salty. See, textiles are the absolute worst at surviving past the time of their use. People wear the heck out of everything these days because the simplest clothes are so expensive, time consuming, and painstaking to make, so- especially if you’re a brokie- you wear it, repair it, and wear it again until it’s basically a rag, and then it gets discarded. Even from our favorite archaeological goldmines, burials and gravesites, it’s pretty darn rare to find anything. This is because textiles are really bad at not just rotting. They’re all natural fibers- wool, silk, linen, fur or leather (which are technically not textiles, but… y’know, they’re there, we’ll count ‘em) so they return to the earth just like you do.
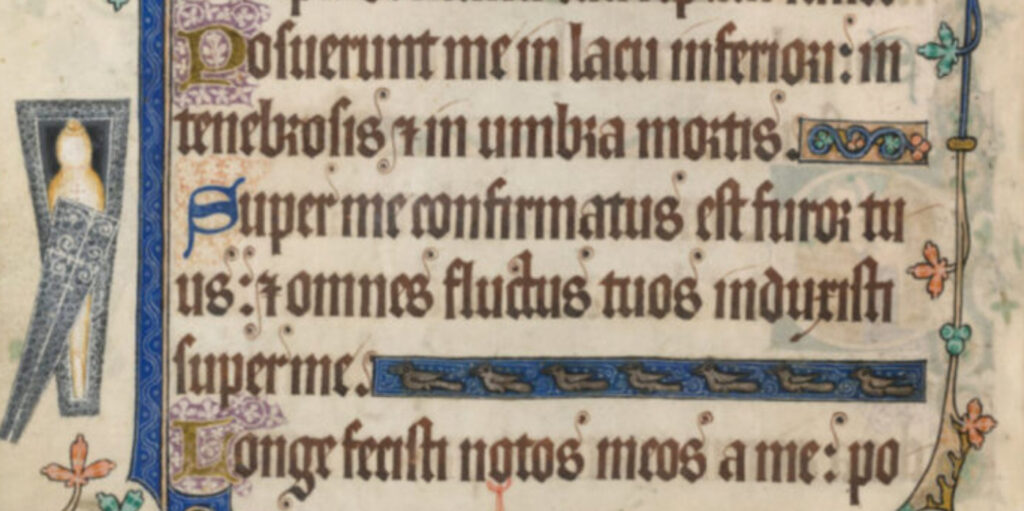
Luttrell Psalter, casket guy. Kinda morbid, sorry, but I gotta keep you engaged somehow!
So, you’re lucky if you’re cold, salty, or soggy. Usually this would be a cause for concern, but in this case, it’s actually great. Let me explain by talking about what I’ve been up to lately.
Herjolfsnes, Greenland. No, I didn’t sneeze, that’s just what it’s called. Kinda Tolkien-esque, right?

This is Herjolfsnes. Situated on the very southern coast of Greenland, Herjolfsnes was once settled by people that you might’ve heard of once or twice before- the Vikings. Long story short, in the 10th century, a felon got a restraining order with Norway and needed to be at least 500 miles away at all times or it was on sight, so he packed up everything with his wife and kids and went about 500 odd miles away to Iceland. If you’re into the Viking Age, his son might ring a bell, Erik the Red. A chip off the old block, Erik eventually had a wonderful legally-necessary vacation to Greenland later in life for a few years and loved it so much he decided to move there, inviting anybody who wanted to come along. Thus, Greenland was settled by the Norse.
Fast forward a few hundred years and people are thriving, to the point that they’re building churches and dressed in the latest fashions by the 14th century. When people live places, they also die, and considering that wood was so scarce you could justify killing somebody over bench-theft, caskets fell out of vogue and funeral shrouds of wool clothing were all the rage. You can see where this is going.
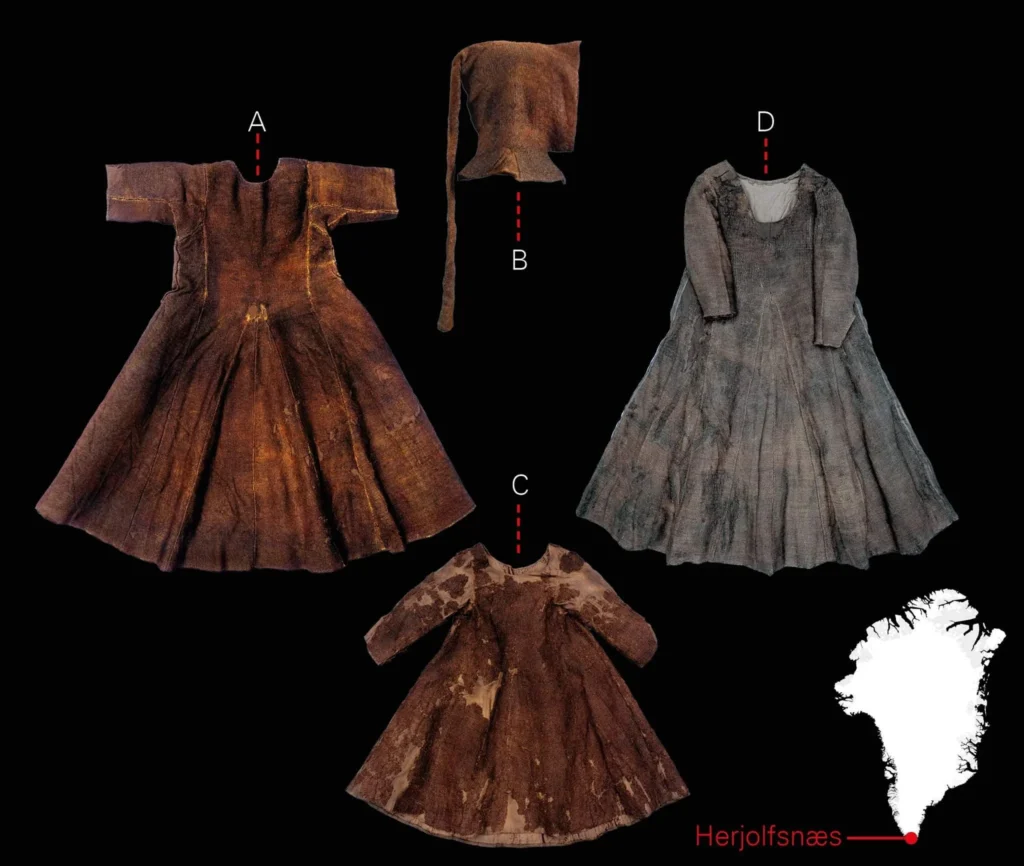
Behold! The Herjolfsnes finds!
Thus, due to the cold, salty, and soggy conditions, when the coast began to erode, 14th century clothing found its way to the neighboring land and sea. Countless different garments survived due to the unique conditions working to preserve them, and from them we found hood D10606.
This one. Look at that liripipe!
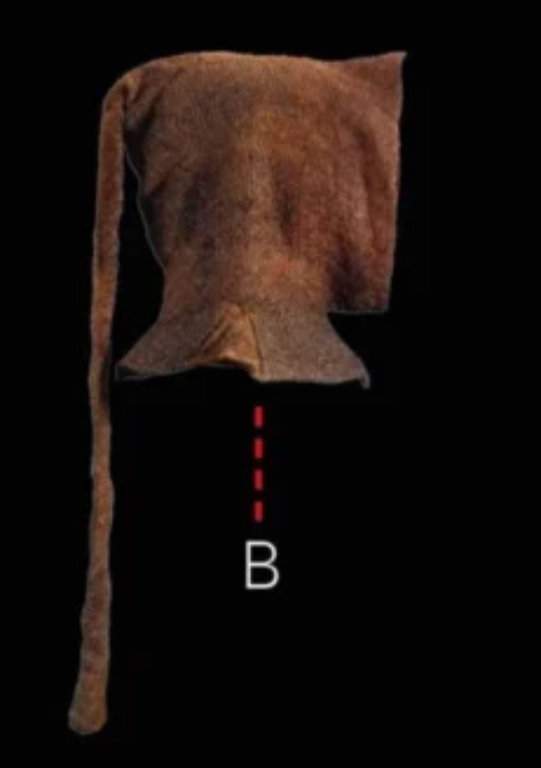
You might remember this one from my LINKabout post,LINK so you know I’ve already recreated it. This is important, because we’re making 14th century textiles, and hood D10606 is one the only ones that survives for us to study it.
When I make a pattern from images of historical textile, I look at a few different physical traits first: seams, stitching, then wear patterns or fold lines. I look at the seams first, because from there I can figure out the basic construction. A lot of clothing comes together like a pocket or a sandwich. Two identical halves come together to make a whole.
By this time, though, garment construction had been sophisticating for a while, so even the lowest classes had some interesting details within the construction of the garment. See the little triangles on the shoulders? Those are called gores, and they’re added to give a little more room or shape to a garment to help it fit better. In this case, a straight line was cut into where the shoulder goes, and a little wedge added so that the cape of the hood conforms to the shoulders.
At this point, I know what the puzzle pieces look like, but how does it come together?
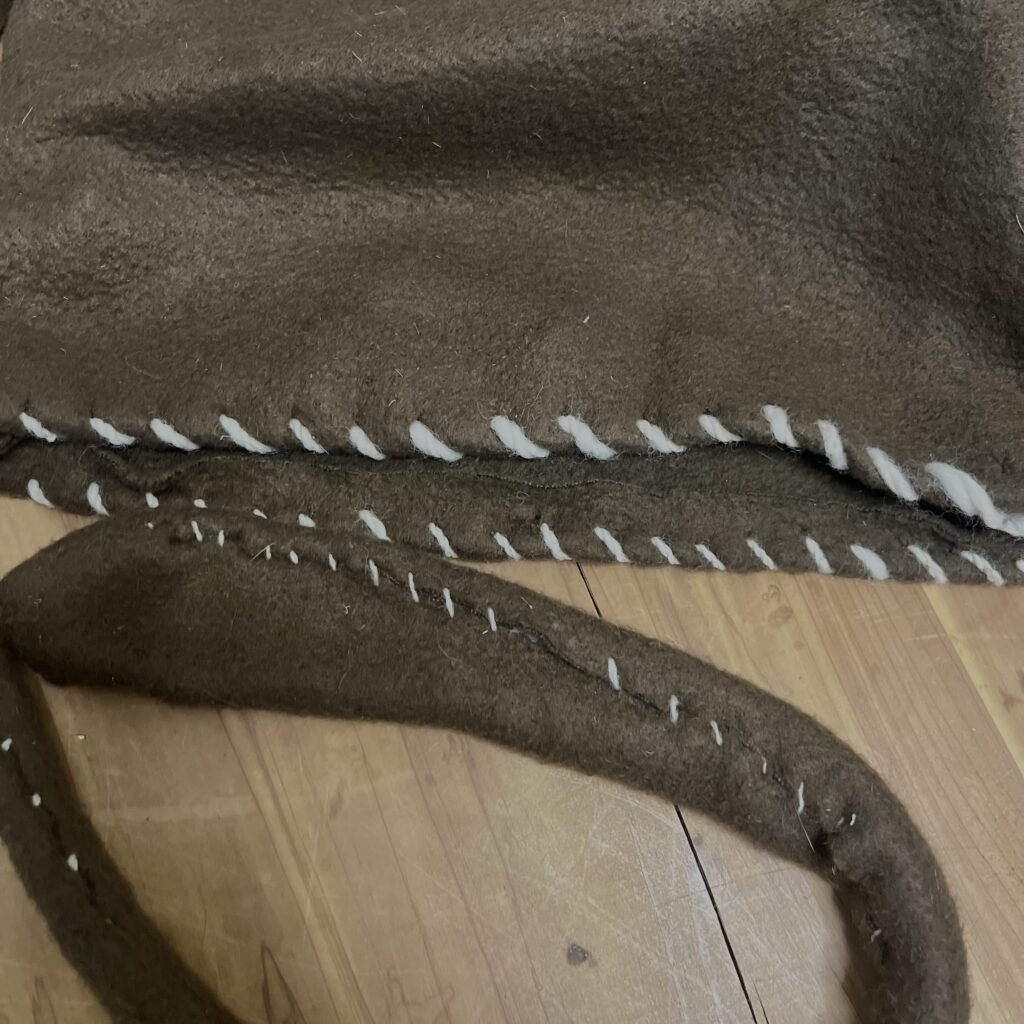
Period accurate stitching on the hem (above) and liripipe (below).
This is when we start looking at stitches.
Hems have been around for a while. You basically fold the raw fabric edges in and stitch them down, both for the sake of comfort and also to keep the fabric from fraying and coming apart. Hems need a little extra fabric on the edges, and the hood around the face is hemmed, so I add some there.
Finally, wear patterns and fold lines. Fabric changes as you use it- it stretches from heat and wear, gets creases where it usually folds, and can get a little worn and ratty as it’s used wherever there’s a lot of frequent contact or friction. For D10606, we get fold lines around the hood opening. This suggests that, when snow or rain weren’t blowing all over the place, whoever wore this folded the hood back so they could see better and so they wouldn’t get too hot. I have to modify this from the original dimensions to fit me, so I keep this in mind- the edges have to cover my face to block wind and other elements. I might add a little extra fabric to the front to make sure and account for this.
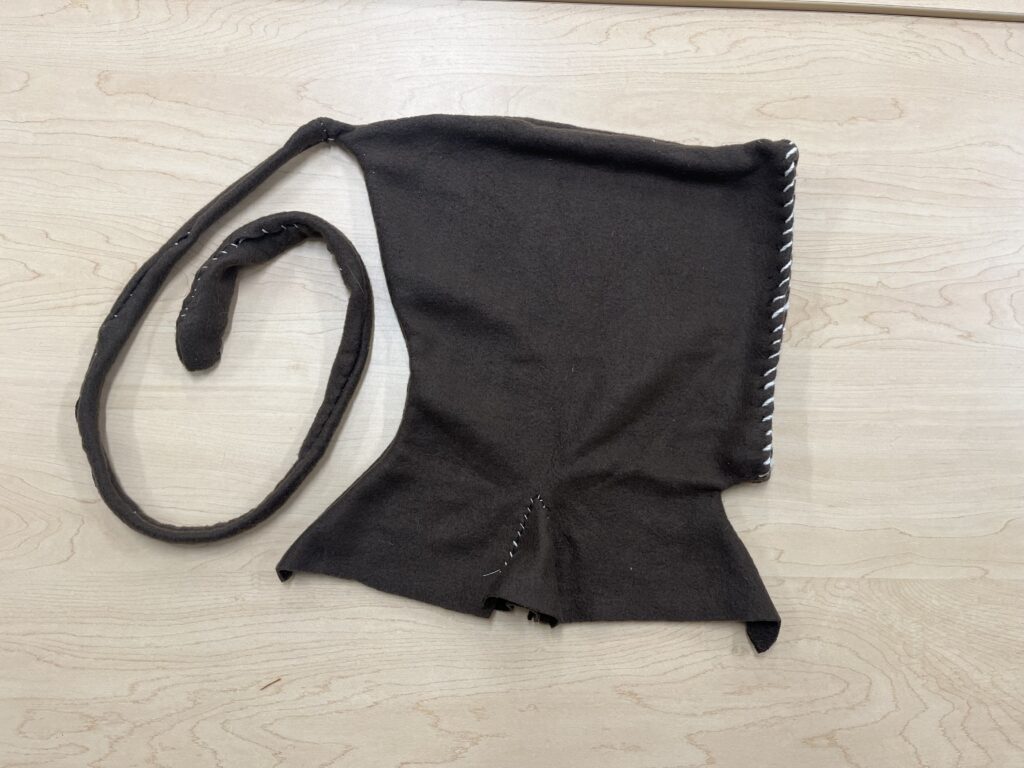
From this, I got a finished pattern, then used period accurate stitching to put it together- whip stitches to construct it, and blanket stitching for the hem. We now have a finished hood!
The finished hood, recreated!
What does this have to do with the Luttrell Psalter, though? Well, based off of our reference image and other images of hoods in the psalter, they look- and are likely constructed- in much the same way. They’re both 14th century and located within or culturally involved with insular Europe, so it’s a safe bet to use D10606 as a jumping off point.
I’m using a different material as compared to what I used for my Herjolfsnes recreation, soI need to draft a new pattern. It needs to be a bit bigger for me to wear when it’s made out of the wool I’ll be using this time, and the cape on the hood needs to be a little longer. Oh, and the liripipe is too long. There was already a seam there from where the liripipe was attached last time, so we’ll just ignore the liripipe part and shape the smaller bit from where the old one left off.
This is the part where I tell you that patterning is kind of a pain! Below, you can see the original next to the three patterns I made off of it in order, from first draft to the last. Quite a few hours went into just the pattern for this hood, and that’s without period accurate stitching and the hems being done. I usually machine sew patterns to save on time. You can really see how different the final product is compared to the original.
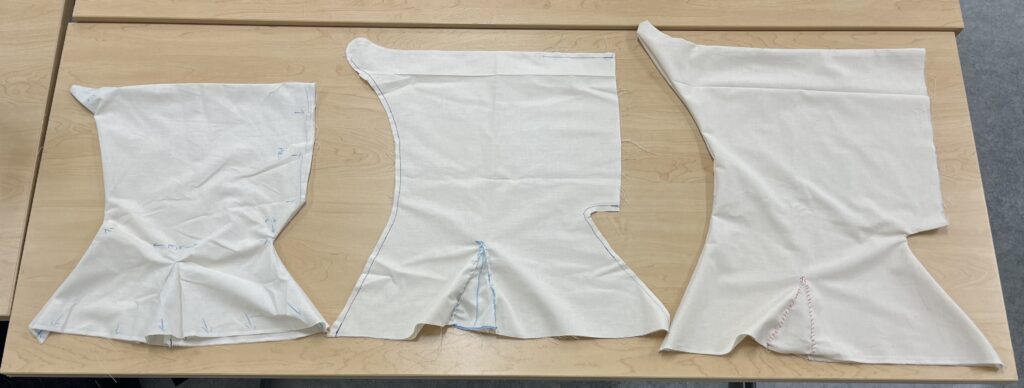
In order from left to right: first draft, second draft, final draft.
You can see my notes written directly on the first one for what needs to be fixed, and the second is inside out so you can see the machine sewing. The gores are hand-stitched, because you can’t do seam allowances with them and doing them on the machine takes more work and time than hand sewing because of how fiddly it is.
Between each version, I try it on to check fit and see what changes I need to make- it was altogether too small for stiff fabric, and then the cape needed to be longer, so I made the necessary changes. The final version’s hood around the face is a bit too long, but that’s because it needs to be hemmed, and I don’t hem drafts or patterns because it’s not really necessary and takes quite a bit of time.
I don’t have any pictures of my try-ons, but I got a model (thanks, Dillon) to take some for me.
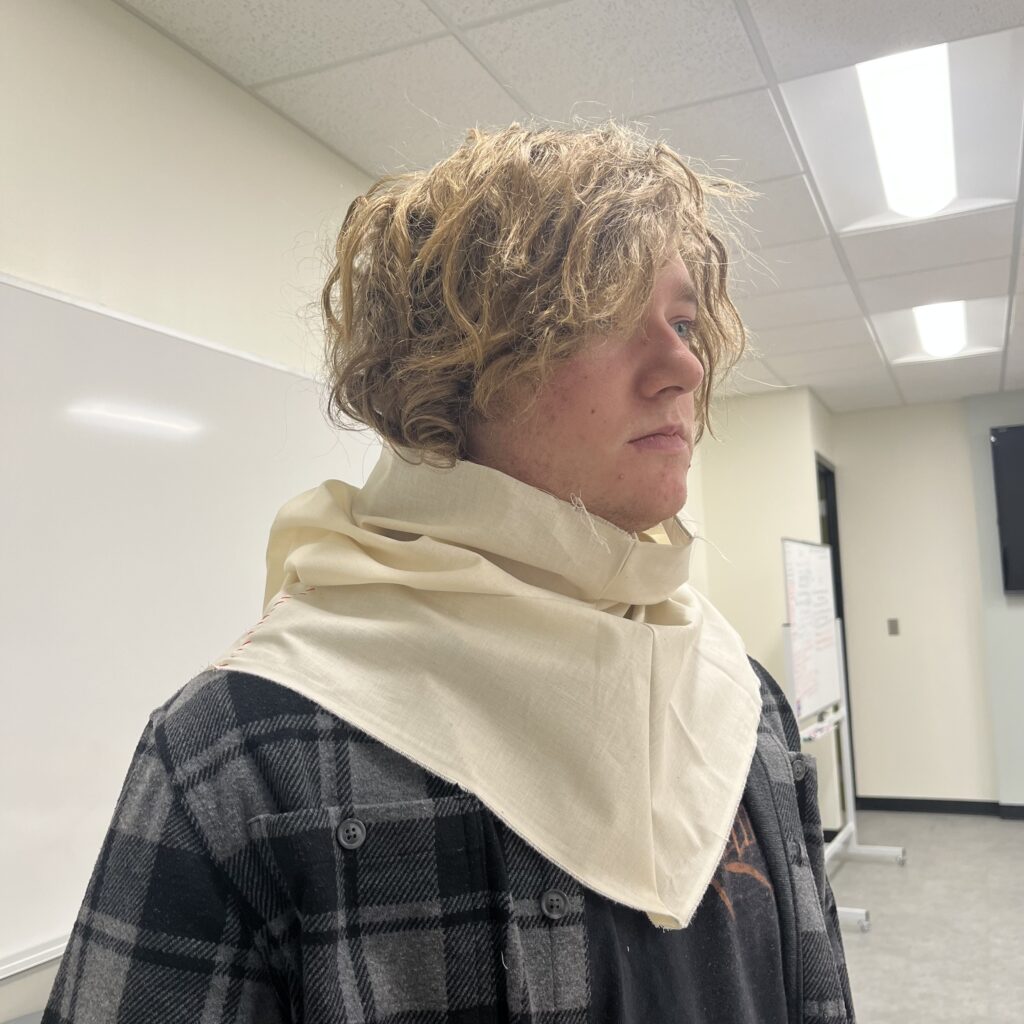
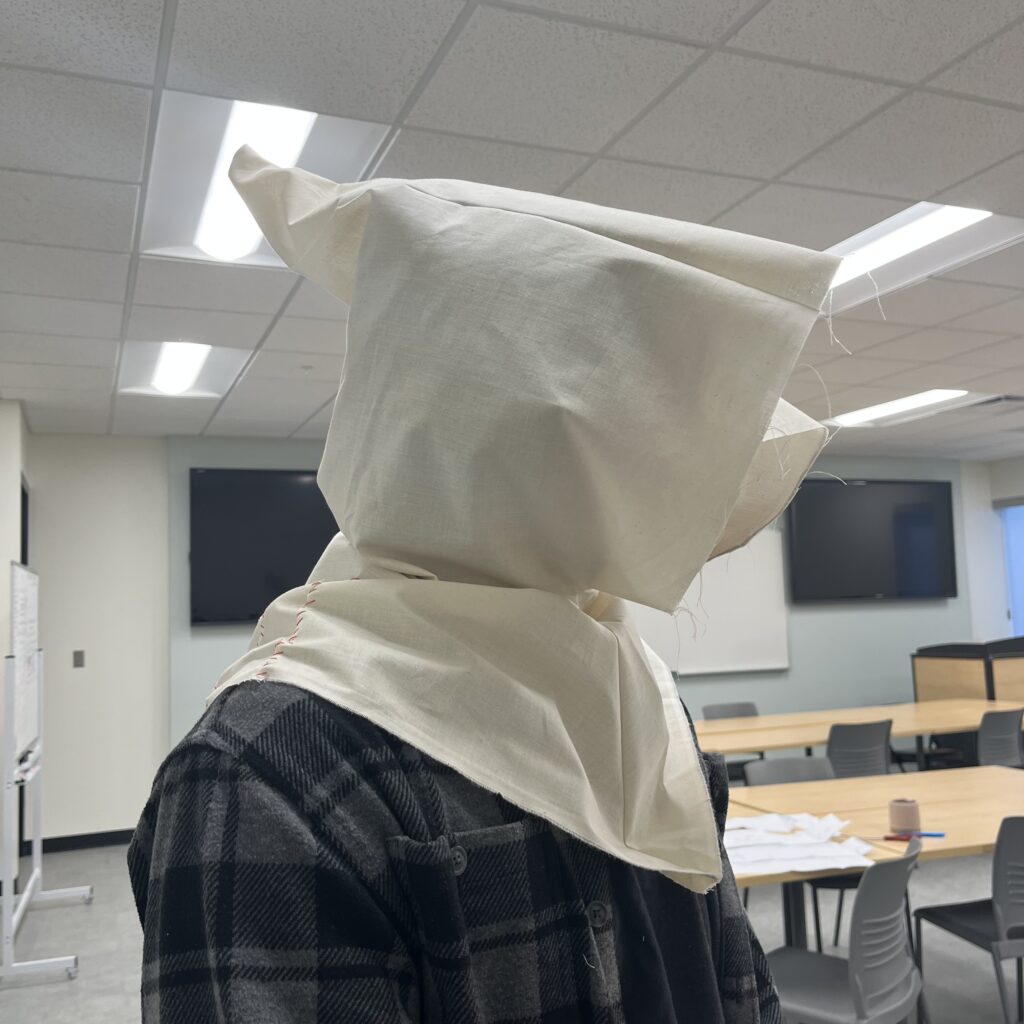
Dillon wearing the hood, with hood up and down. It’s a little small on him, but you get the idea. See how the gores help fit it to his shoulders, and how the hood would keep wind or rain from his face?
I’ll elaborate more on the hood when I get to sewing it up, but this is a pretty good picture of everything that goes into patterning historical textiles, and everything we can learn from the process- from learning what conditions work best to preserve precious historical garments to why and how people wore these textiles in the first place, it’s a lot more than simple guesswork.
I hope you enjoyed learning with me about the first step in the process of crafting historical textiles- I’m excited to show you more! Make sure to come back next week, and thanks for reading!